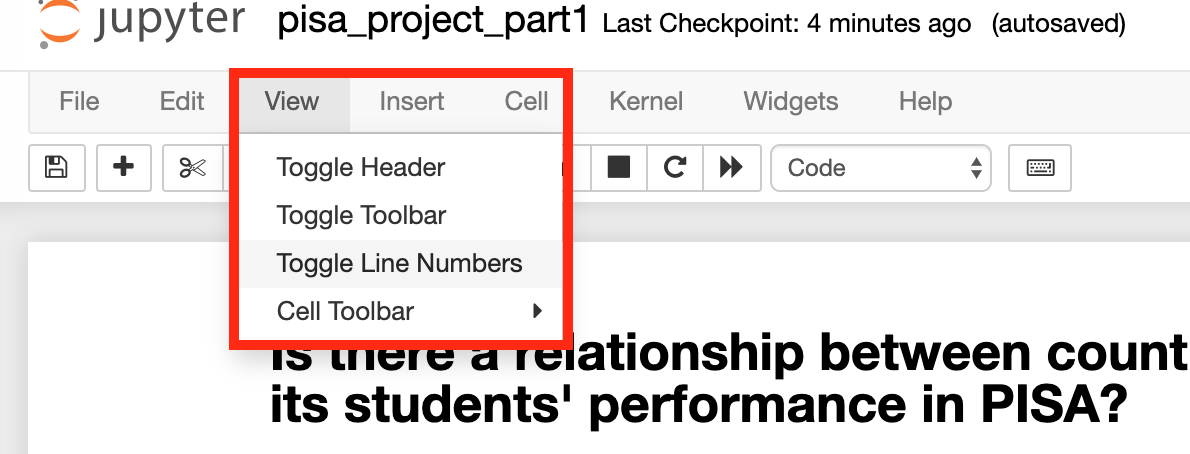
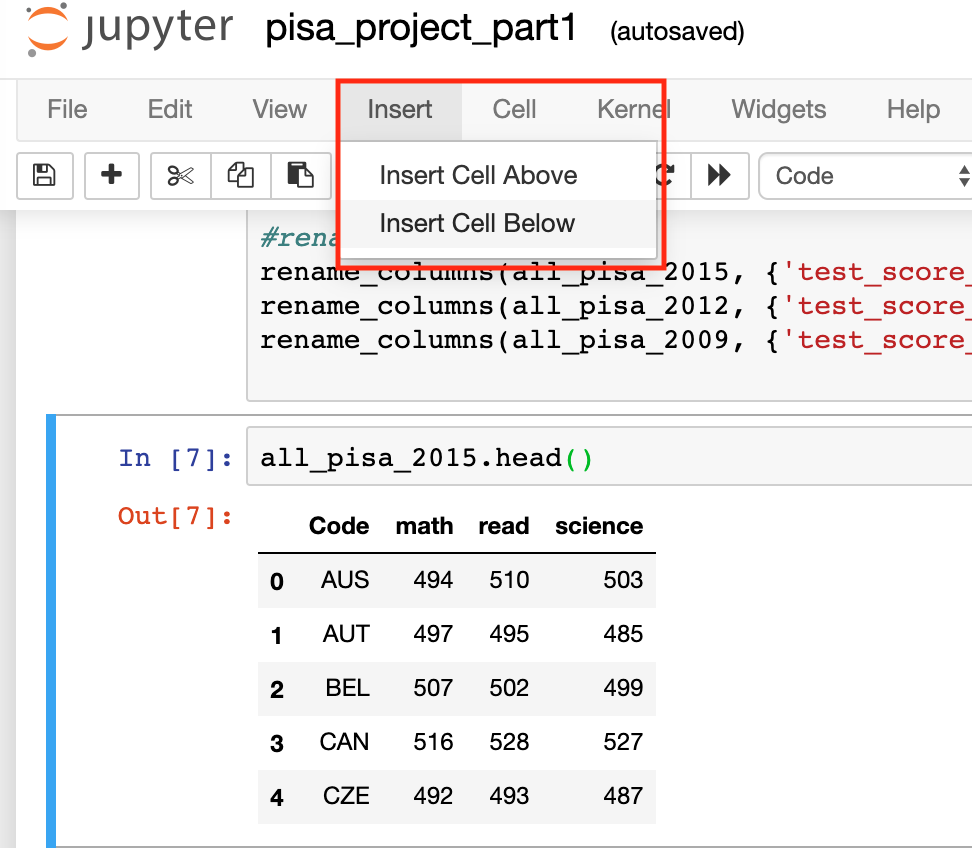
Use the following code snippets to alter the PISA notebook.
Click on the launch binder button in the PISA repository: https://github.com/data-curation/PISA
- If you make a mistake, you check the source file to copy and paste the original code. You can also try pressing
File > Revert to Checkpointin the Jupyter notebook top menu.
1. Turn on line numbers.

2. Run all of the cells.

3. Got to cell 6. Follow the instructions on lines 14, 37, and 51 below.
4. Re-run cell 6 by clicking in the cell and pressing shift + return. If there are any errors, check your code for typos and try again.
From here on, the cell numbers in the Jupyter notebook will change depending on how many times you run the code within that cell.
5. Insert a new cell for each of the additional years you’ve added.

6. Type the additonal variable names into the new cells and press shift + return to run each one.
For example:
all_pisa_2012.head()
all_pisa_2009.head()
If there are errors, check for typos and try again.
7. There’s an error in the tenth cell and I don’t know how to fix it. Read the error message to determine which line is the problem.
Seriously though. The error has something to do with ‘numpy’ and ‘floats’. I don’t know enough about numpy to fix it.
